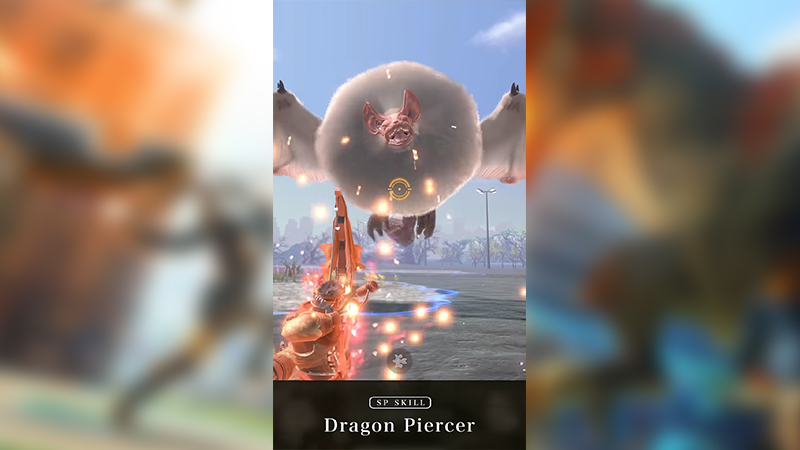
Are you ready to become a skilled bow user in Monster Hunter? Have you ever wondered how to harness the power of the bow effectively in your hunts? This Monster Hunter Now Bow Guide will unlock the secrets of mastering the bow, providing essential tips and strategies to enhance your hunting experience. Whether you’re a novice or a seasoned hunter, we’ll break down the complexities of bow gameplay, making it accessible and exciting. So, how can you become a bow-wielding expert in Monster Hunter Now Bow Guide?
How Can Master the Bow in Monster Hunter?
You can become a skilled bow hunter by following the steps provided below.
Understanding Charge Shots
One of the key mechanics to master when using a bow in Monster Hunter is the charge shot. Different bows offer varying charge levels, and understanding them is crucial. Here’s a breakdown:
- Level 1 Shot: A quick tap and release of the fire button results in a level 1 shot.
- Level 2 Shot: After the first ‘blink’ of your charge indicator, you reach a level 2 shot.
- Level 3 Shot: Two ‘blinks’ indicate a level 3 shot.
- Level 4 Shot: Three ‘blinks’ with a red glow signify the mighty level 4 shot, which packs a punch.
Aim for that level 4 shot whenever possible, as it deals the most damage. Additionally, tapping immediately after firing your shot allows you to perform a follow-up shot, known as a powershot, which is at the same level but deals approximately half the damage. Keep this in mind during your battles.
Charge-Evading for Survival
Another essential technique with the bow is charge-evading. This maneuver allows you to evade while maintaining your charge. Here’s how it works:
- Charge to at least level 1 (1 ‘blink’).
- Perform a charge-evade, which triggers an evade action while keeping your charge intact.
- After the evade animation ends, your bow will automatically fire.
However, note that you can only charge-evade after a single charge level. A common strategy is to charge up to level 3 (2 ‘blinks’), perform a charge-evade, and finish with a level 4 shot, followed by a powershot if it’s safe. Remember that you can charge-evade backward and forward, providing valuable mobility in battle.
Mastering Bow Shot Types and Effective Ranges in Monster Hunter

Image Source: Niantic / Capcom via Gigascreens
Related :
How To Fix Monster Hunter Now: Small Monsters Not Spawning
Understanding the effective range of your shot types is vital. Spread and Rapid shots are effective within a range of 1-2 rolls away from the monster. To determine if you’re within the effective range, pay attention to your reticle color:
- Yellow Reticle: You’re within the effective range for the selected shot type.
- White Reticle: You’re too far from the monster and must close the distance.
Spread shots, which fire six arrows horizontally at level 4, are most effective when you’re up close and personal with the monster. On the other hand, Pierce shots, which fire a single arrow that pierces through the beast, are best used at a distance to maximize damage.
In conclusion, mastering the bow in Monster Hunter is about understanding charge shots, charge-evading, shot types, and effective ranges. You’ll become a formidable bow user with practice, delivering precise and devastating shots to your targets. Please ask in the comments if you have more questions about using the bow. Happy hunting, fellow hunters!
Delve into a treasure trove of deep analysis and captivating gameplay content by checking out the Shawnzy YouTube channel.
