")
Holy thermal throttling, Batman! The RTX 4090 is a beast of a GPU, but with great power comes great heat generation. Did you know that under full load, this graphics card can pump out over 400 watts of heat? That’s like having a small space heater in your PC! But fear not, fellow tech enthusiasts. Today, we’re diving into the epic showdown of cooling solutions: water cooling vs. air cooling for the RTX 4090. We’ll explore various RTX 4090 cooling solutions and help you decide which method will keep your rig running cooler than a penguin’s toes.
Understanding GPU Thermal Management Basics
 Let’s kick things off with a quick crash course in GPU cooling 101. Trust me, it’s cooler than it sounds!
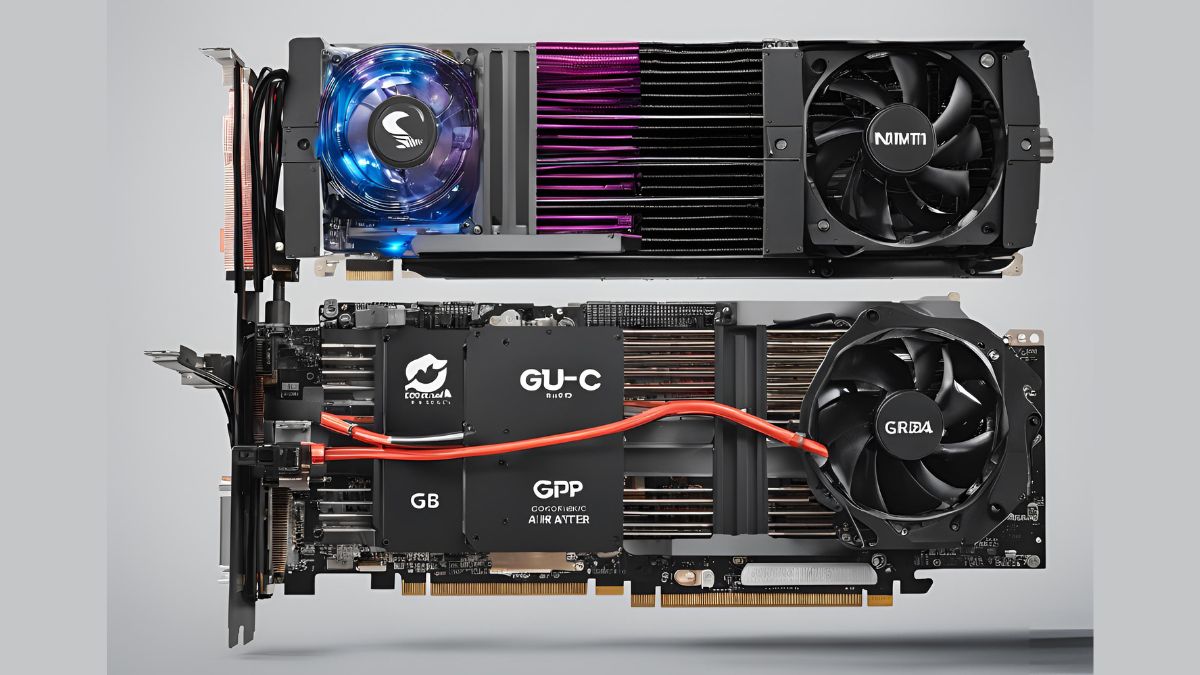
First up, what’s the deal with air cooling? It’s pretty much what it says on the tin. Air cooling uses fans to blow air across heatsinks, whisking away heat from your GPU faster than a penguin on an ice slide. It’s the old reliable of the cooling world – simple, effective, and has been keeping our GPUs chill since the dawn of 3D graphics.
On the flip side, we’ve got water cooling. This method is like giving your GPU its own private swimming pool. It uses liquid (usually a mix of water and coolant) to absorb heat from the GPU, then pumps it away to a radiator where it’s cooled down and sent back for another round. It’s the VIP treatment for your graphics card.
Now, why are we making such a fuss about cooling the RTX 4090? Well, this bad boy is the Hulk of GPUs. It’s packing some serious muscle, capable of pushing out over 400 watts of heat when flexing at full load. That’s enough to fry an egg! (Note: please don’t actually try to cook on your GPU. Trust me on this one.)
Effective cooling isn’t just about preventing your PC from turning into a sauna. It’s crucial for maintaining peak performance and preventing thermal throttling. You see, when GPUs get too toasty, they start to throttle their performance. It’s like your GPU is saying, “Whoa there, I’m burning up! Time to slow down.” By keeping temperatures in check, we ensure our RTX 4090 can strut its stuff without breaking a sweat.
Air Cooling for RTX 4090: Keeping It Simple
 Alright, let’s talk air cooling – the tried-and-true method that’s been keeping GPUs frosty since before water cooling was even a twinkle in a PC enthusiast’s eye.
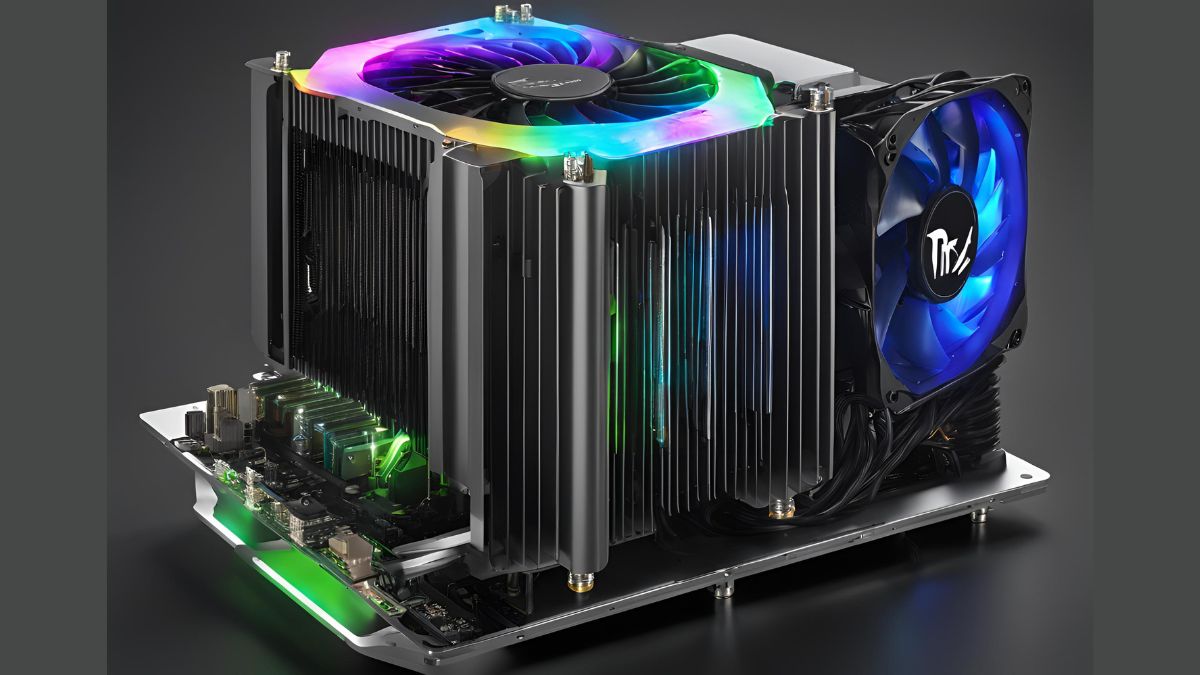
So how does air cooling work its magic on the beastly RTX 4090? Picture this: your GPU is like a tiny furnace, cooking up frames faster than a short-order chef. The air cooler is the kitchen’s exhaust system. It’s got a heatsink (think of it as a bunch of metal fins) that sits right on top of the GPU, soaking up all that heat. Then, fans blow air across these fins, whisking the heat away faster than you can say “thermal throttling.”
Aftermarket GPU coolers often offer improved cooling efficiency over stock coolers. They typically feature larger heatsinks with higher fin density and more powerful fans, allowing for better heat dissipation. When choosing an air cooler, pay attention to the air cooler height clearance to ensure it fits in your case.
Here’s a quick breakdown of the pros and cons of air cooling:
| Pros of Air Cooling | Cons of Air Cooling |
|---|---|
| Simplicity | Large size |
| Budget-friendly | Higher noise levels |
| Reliable | Limited cooling capacity |
| Easy maintenance | Heat dispersion in case |
One crucial aspect of air cooling is fan curve optimization. By customizing your GPU fan curve, you can find the sweet spot between cooling performance and noise levels. Speaking of noise, air cooling noise levels can vary significantly depending on the cooler design and fan configuration.
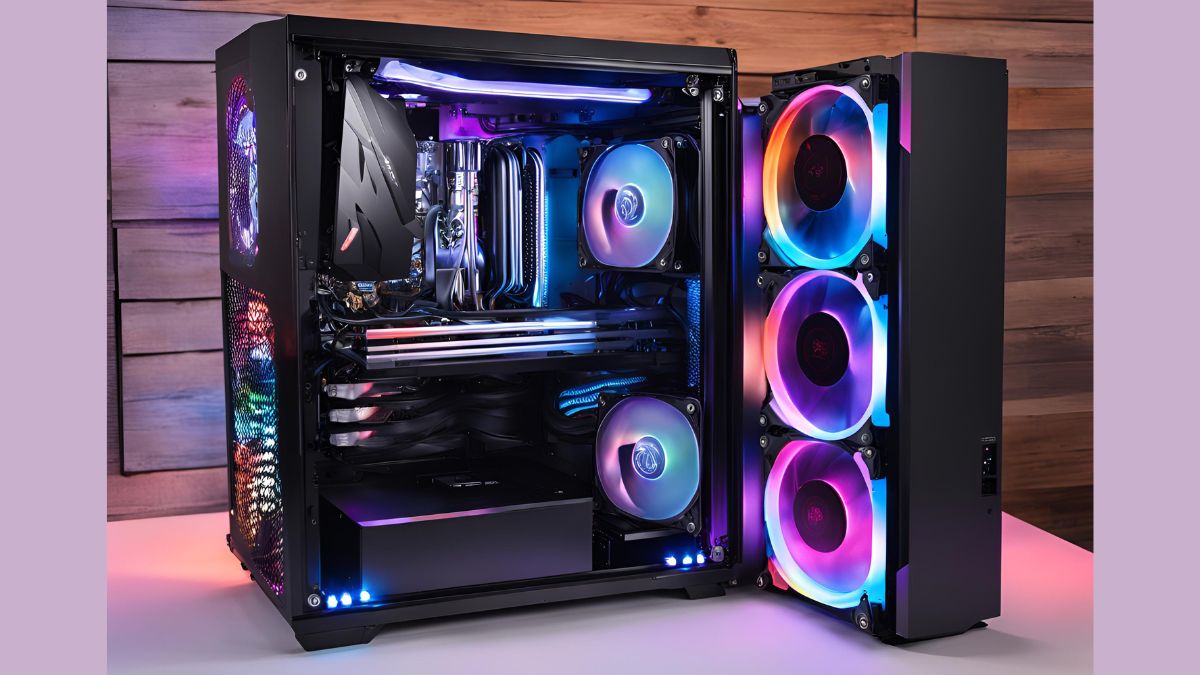
Water Cooling for RTX 4090: Liquid Luxury
 Alright, gear heads, it’s time to dive into the deep end of GPU cooling – water cooling for the RTX 4090. This is where things get seriously cool (pun absolutely intended).
So, how does water cooling work its liquid magic? Imagine your RTX 4090 is a high-performance athlete. Air cooling is like a fan blowing on them, but water cooling? That’s like giving them a refreshing ice bath. A water block sits directly on the GPU, absorbing heat like a sponge. Then, a pump circulates the heated liquid to a radiator, where it’s cooled down by fans before heading back to the GPU. It’s a continuous cycle of chill.
When it comes to water cooling, you have two main options: AIO coolers for RTX 4090 or custom water cooling loops. AIO (All-In-One) coolers offer a simpler solution, while custom loops provide maximum cooling potential and customization.
Let’s compare the two types of water cooling:
| Feature | AIO (All-In-One) | Custom Loop |
|---|---|---|
| Complexity | Moderate | High |
| Cost | Lower | Higher |
| Performance | Good | Excellent |
| Customization | Limited | Extensive |
| Maintenance | Low | High |
Custom water cooling loops allow for extensive customization, from choosing the perfect water block to selecting the ideal coolant type. You’ll need to consider factors like radiator size for RTX 4090, water cooling fittings, and even water cooling reservoir placement.
For the adventurous, there are also hybrid cooling solutions that combine elements of both air and water cooling. These can offer a nice balance between performance and complexity.
Performance Comparison: Air vs. Water Cooling
 Alright, folks, it’s time for the main event! In the red corner, we have the heavyweight champion of simplicity, Air Cooling. And in the blue corner, the liquid contender, Water Cooling. Let’s break down this cooling clash for the RTX 4090!
| Feature | Air Cooling | Water Cooling |
|---|---|---|
| Typical Load Temps | 75-80°C | 60-65°C |
| Noise Levels | Moderate to High | Low to Moderate |
| Overclocking Potential | 5-10% | 15-20% |
| Performance Consistency | Good | Excellent |
When it comes to overclocking RTX 4090, water cooling often has an edge due to its superior cooling capacity. This can lead to higher and more stable overclocks. However, don’t underestimate the impact of the GPU silicon lottery on cooling and overclocking potential.
For those really looking to push the limits, techniques like undervolting for better cooling can help optimize performance while keeping temperatures in check. GPU stress testing is crucial to ensure stability, especially when overclocking.
Remember to pay attention to VRAM cooling techniques as well. The memory on the RTX 4090 can get toasty, and proper cooling can help maintain stability during intense gaming or rendering sessions.
Installation and Maintenance: What to Expect
 Alright, tech warriors, let’s roll up our sleeves and dive into the nitty-gritty of keeping your RTX 4090 cool. Whether you’re Team Air or Team Water, there’s more to cooling than just slapping on a heatsink or filling up some tubes. Let’s break it down!
| Aspect | Air Cooling | AIO Water Cooling | Custom Loop Water Cooling |
|---|---|---|---|
| Installation Time | 30 minutes | 2-3 hours | 4+ hours |
| Maintenance Frequency | Every few months | Every 1-2 years | Every 6-12 months |
| Skill Level Required | Beginner | Intermediate | Advanced |
| Risk Level | Low | Moderate | High |
For air cooling, maintenance primarily involves cleaning dust accumulation from the heatsink and fans. A can of compressed air is your best friend here.
Water cooling maintenance is more involved, especially for custom loops. You’ll need to perform regular leak testing, replace the coolant, and clean the water blocks. Don’t forget about water block cleaning methods to keep your loop running efficiently.
When installing either cooling solution, proper thermal paste application is crucial for optimal heat transfer. For water cooling, you might also need to replace thermal pads on VRM and VRAM components.
Cost Analysis: Budgeting for Your Cooling Solution
 Let’s talk turkey – or rather, let’s talk dollars and cents. Cooling your RTX 4090 isn’t just about performance; it’s also about how much green you’re willing to part with. So, let’s break down the costs and see if we can cool your GPU without burning a hole in your wallet!
| Cooling Solution | Initial Cost | Maintenance Cost (Annual) |
|---|---|---|
| Stock Air Cooler | $0 | $5-$10 |
| Aftermarket Air Cooler | $60-$150 | $5-$20 |
| AIO Water Cooler | $150-$300 | $0-$50 |
| Custom Water Loop | $300-$1000+ | $50-$150 |
When budgeting for a custom loop, don’t forget to factor in costs for things like coolant additives for performance and potential upgrades like a better water pump for noise reduction.
Aesthetics and Case Compatibility
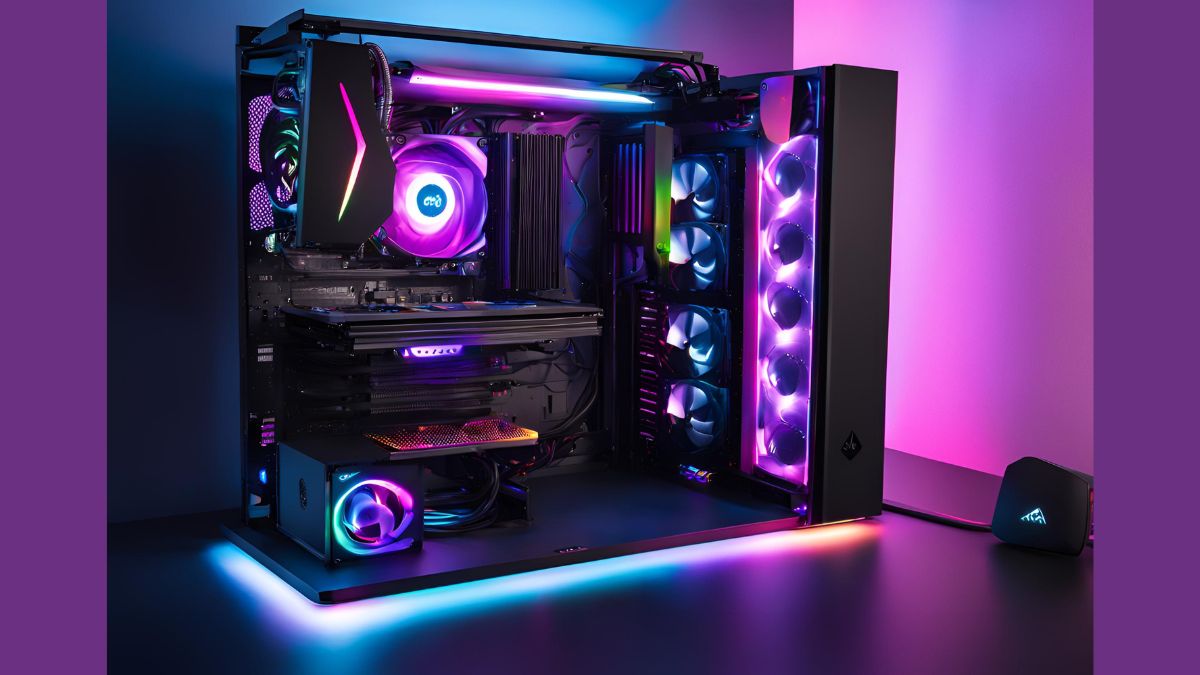 Alright, style mavens and PC fashionistas, let’s talk about making your RTX 4090 look as cool as it runs. Because let’s face it, if you’re dropping big bucks on a top-tier GPU, you want it to look like a million bucks too!
| Feature | Air Cooling | Water Cooling |
|---|---|---|
| Size | 3-4 slot thickness | Slim GPU + radiator space |
| RGB Options | Limited to moderate | Extensive |
| Customization | Limited | Highly customizable |
| Case Compatibility | Needs wide case | Needs radiator space |
RGB lighting for GPU coolers has become increasingly popular, allowing for some truly eye-catching builds. Water cooling, in particular, offers extensive RGB options with illuminated reservoirs, fittings, and even coolant.
When it comes to case compatibility, air coolers require sufficient clearance for their often bulky designs. Water cooling setups need space for radiators, which can be mounted in various locations depending on your case design. Some enthusiasts even go as far as case modding for better cooling, creating custom layouts to accommodate their dream cooling setup.
The aesthetics debate of water cooling vs. air cooling is subjective, but many agree that a well-executed custom water cooling loop can turn a PC into a work of art.
Conclusion
Whew! We’ve taken quite the journey through the frosty landscape of GPU cooling, haven’t we? Whether you’re Team Air or Team Water, one thing’s for sure: keeping that RTX 4090 cool is no small feat.
We’ve covered everything from basic heat dissipation methods to advanced topics like coolant flow rate optimization and GPU hotspot temperature management. We’ve explored the ins and outs of PC case airflow optimization, delved into the world of custom fan shroud designs, and even touched on the impact of radiator thickness on cooling performance.
Remember, the choice between air and water cooling for your RTX 4090 isn’t just about raw performance. It’s about finding the right balance between cooling efficiency, noise levels, aesthetics, and your willingness to tinker. Whether you’re air cooling with a focus on GPU backplate cooling or designing an intricate water-cooling loop, the goal is the same: keep that GPU cool and running at peak performance.
So, dear PC enthusiasts, armed with this knowledge, go forth and build! May your temperatures be low, your framerates high, and your gaming sessions epic. And who knows? Maybe the next viral PC build we see online will be yours!
Now, if you’ll excuse me, I need to go check on my own rig. I think I hear it begging for an upgrade… Perhaps it’s time to break out the thermal imaging camera and see where I can optimize my cooling!